
Future Pathways: Installation Guide
Getting Future Pathways up and running on your machine.

In my last post it perhaps wasn’t clear how to get hold of and install the visualization. So for those that asked, here is is a quick start guide to getting up and running. For more details about what you can do with it, please see Civilization Trajectories: Mapping Future Pathways.
Future Pathways Installation Guide
This guide will help you set up and run the Future Pathways application. Please note, I have only run this on a my Mac so I would be interested in hearing of successes (and otherwise) on Windows and Linux machines - thank you.
Prerequisites
Python 3.x installed on your system
Git installed on your system
pip (Python package installer)
Installation Steps
Clone the GitHub repository:
git clone https://github.com/bernardSolar/future_pathways.git
cd future_pathways
Install required Python packages:
pip install numpy matplotlibIf using Python 3 explicitly:
pip3 install numpy matplotlibRunning the Application
You can run the application in one of two ways:
Command Line
From the project directory, run:
python3 future_pathways.pyIDE
Alternatively, you can open the project in an IDE like PyCharm and run python3 future_pathways.py directly.
Support
If you encounter any issues, please open an issue on the GitHub repository.
Interaction
When the program launches you should see the visualization with all its pathways and transition zones activated, so it seems a bit busy.
You can toggle the pathways and transition zones on or off by selecting the checkboxes on the left hand side of the display. For example, here is the visualization with just the Way et al. “Fast”, “Slow” and “No Transition” pathways displayed:
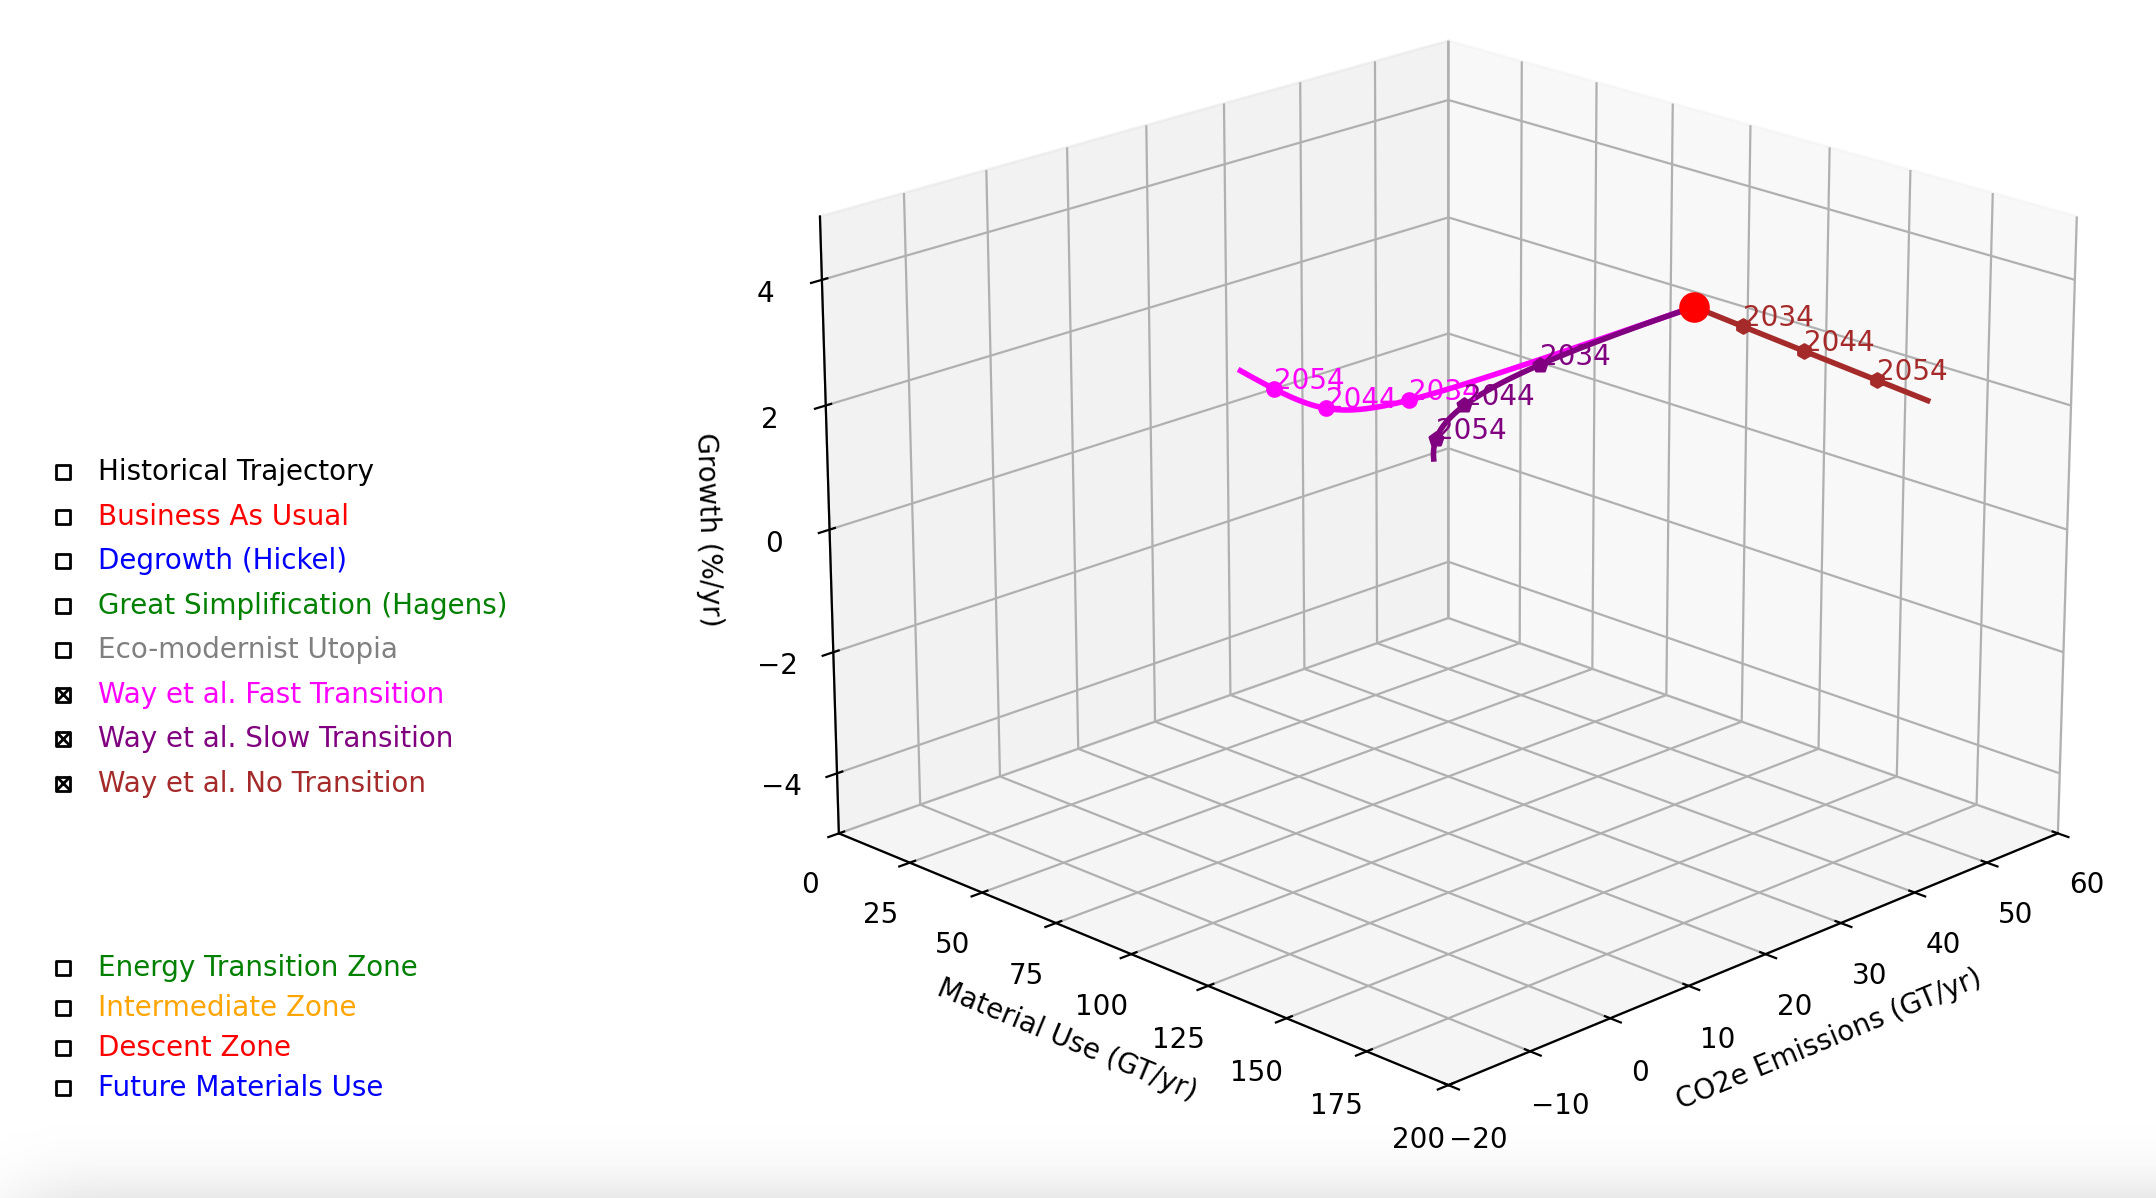
To rotate, simply click, hold and drag your mouse - that’s it!
Let me know how you get on.
Further Reading
For more details about the visualization please see Civilization Trajectories: Mapping Future Pathways.